HR (HC) guide contents
For the HR or Human Capital team that looks after employees and communication to all staff. The HR menu partly overlaps with Admin, without payment and subscription settings.
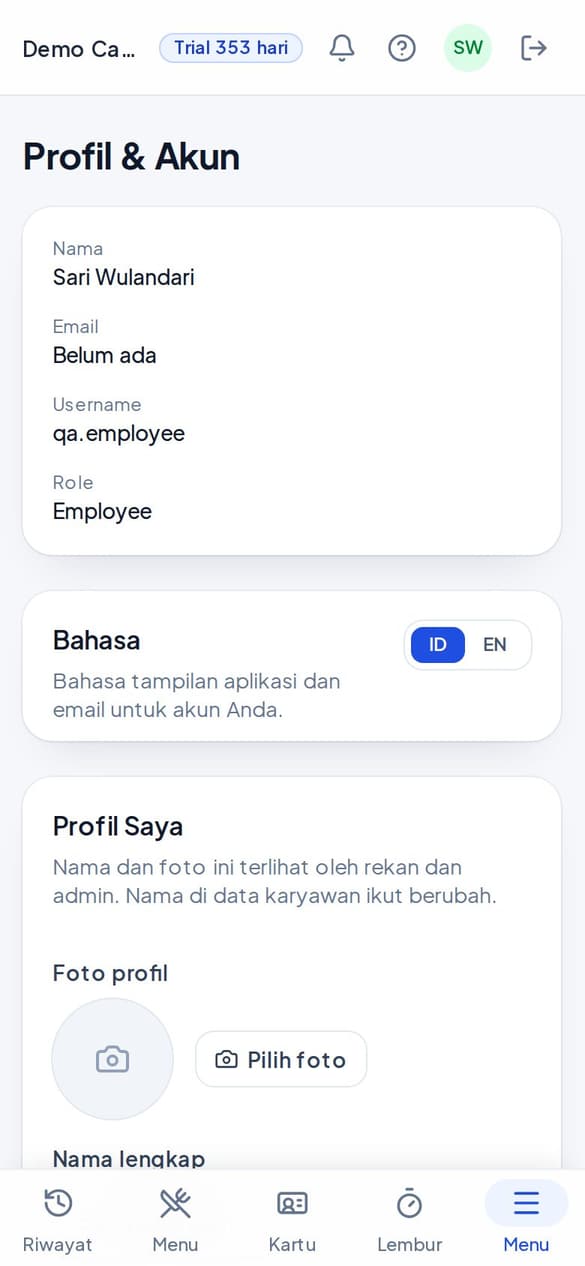
The screenshots show the app in Indonesian. In the app, open Profile & Account and choose EN to switch the language.
What you can do
- Add, import, and deactivate employees
- Fill in the duty roster for all departments
- Create announcements, polls, surveys, and best-of-the-month elections
- Manage tomorrow's meal confirmation and events
- Submit corrections to claims and approve overtime meals
Outside this role
- Set up payments, the subscription, or the gateway
- Decide claim corrections (Finance or Admin approves)
- Change meal times and the price per portion (an Admin task)
- See survey answers person by person (combined results only)
- 1Get started: sign in and install
Sign in, install on your phone, turn on notifications, and set up your account. - 2Employee data
Add, import, set status, and manage face data. - 3Duty roster and overtime meals
Today's roster decides who may eat at the canteen. - 4Announcements and TV screens
Share information on the canteen TV screens and in the employee app. - 5Polls, surveys, and best-of-the-month elections
Hear employees' voices with anonymous answers. - 6Meal confirmation, events, and dietary needs
Help the kitchen prepare the right number of portions. - 7Frequently asked questions
Short answers to the most common problems.
Get started: sign in and install
Sign in, install on your phone, turn on notifications, and set up your account.
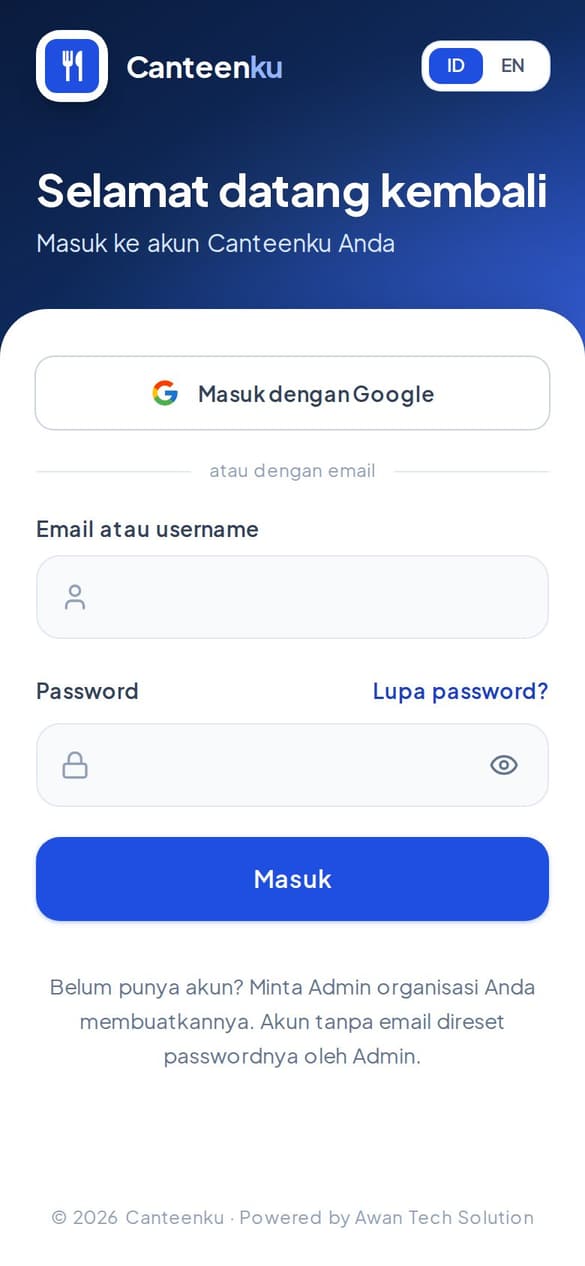
1Sign in to Canteenku
Your account is created by the admin or HR of your organisation. You do not need to register yourself.
- Open canteenku.cloud in Safari or Chrome, or open the Canteenku app if it is already installed.
- Enter the Email or username and Password your admin gave you, then tap Sign in.
- If your account uses a Google email, tap Sign in with Google.
- After signing in, you land on the home page for your role.
Forgot your password? Tap Forgot password? on the sign-in page, enter your email, and follow the button in the email. Accounts without an email: ask your admin to reset the password.
After your first sign-in, change your password in Profile & Account so only you know it.
2Install it on your phone
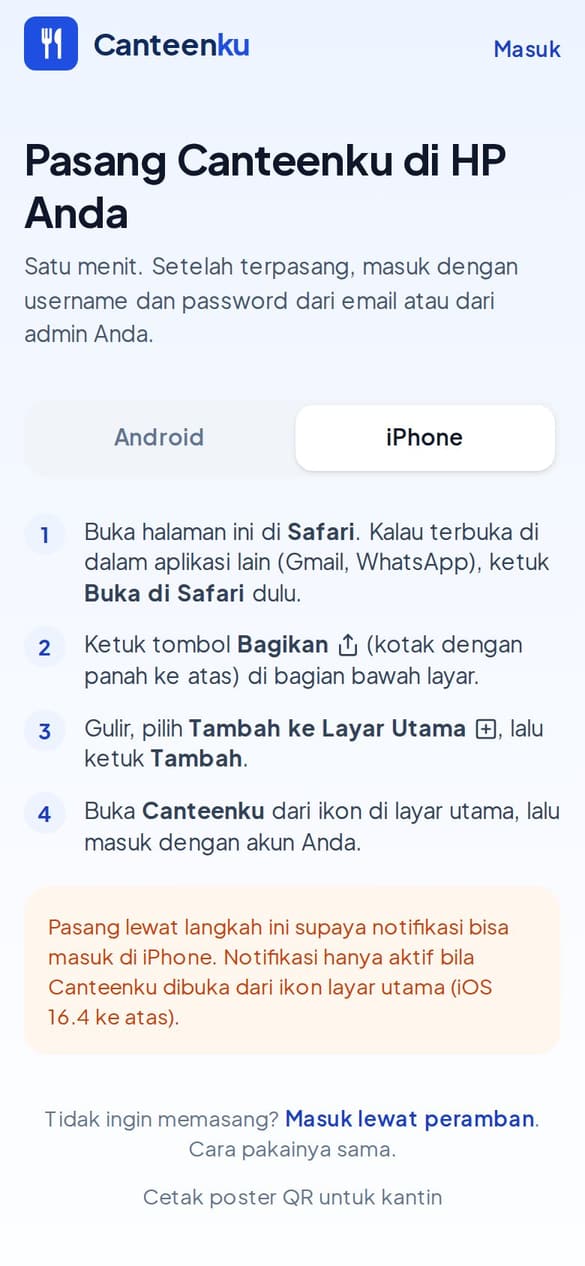
Canteenku works in a browser, but it is more convenient installed like an app. Choose your phone.
- Android: open canteenku.cloud/unduh, tap the download button, open the Canteenku.apk file from the notification or the Files app, allow install from this source if asked, then tap Install.
- iPhone: open canteenku.cloud in Safari, tap the Share button (a box with an arrow pointing up) at the bottom of the screen, choose Add to Home Screen, then tap Add.
- Open Canteenku from the icon on your home screen and sign in with your account.
On iPhone, notifications only work when Canteenku is opened from the icon on the home screen (iOS 16.4 or later), not from regular Safari.
3Turn on notifications
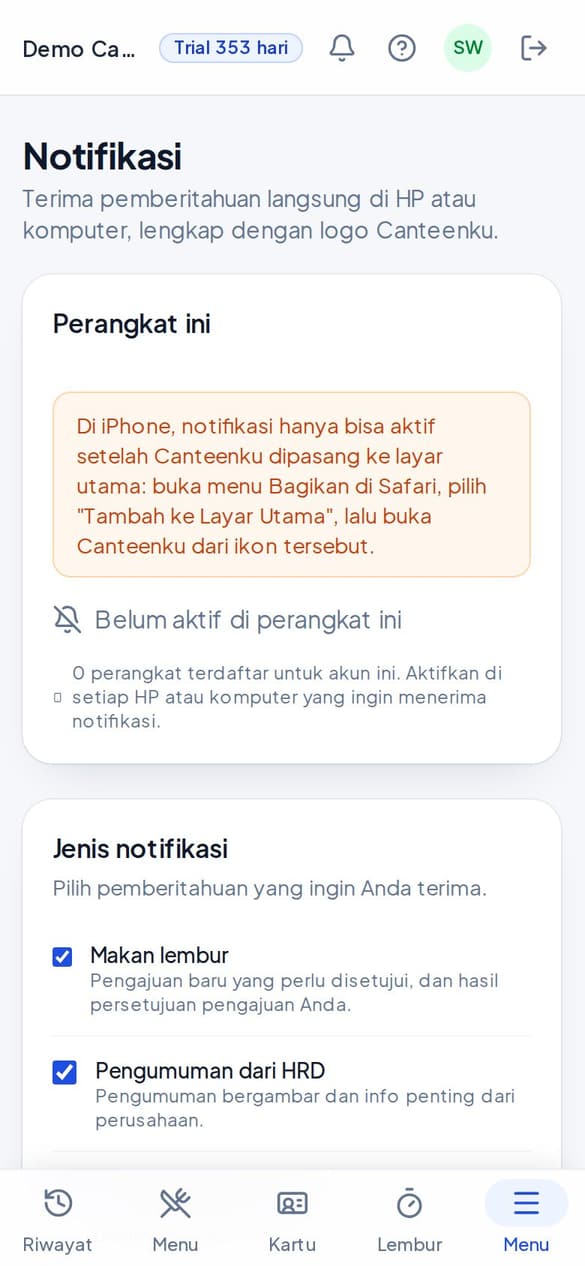
Notifications tell you what matters right on your phone or computer, with the Canteenku logo.
- Open Notifications (from the main menu or the bell icon).
- Under This device, tap Turn on notifications, then choose Allow when your phone asks.
- Under Notification type, tick the notifications you want to receive.
Turn this on for every phone or computer you use. The setting applies per device.
4Profile, password, and language
It is all in the Profile & Account menu.
- Open Profile & Account from the main menu.
- Language: choose ID (Indonesian) or EN (English) for the app and email.
- Profile photo: tap Choose photo. Colleagues and admins can see your photo.
- Change password: tap Change password, enter a new password, then save.
- Two-step verification (2FA): turn it on for extra protection. Some organisations require it for certain roles.
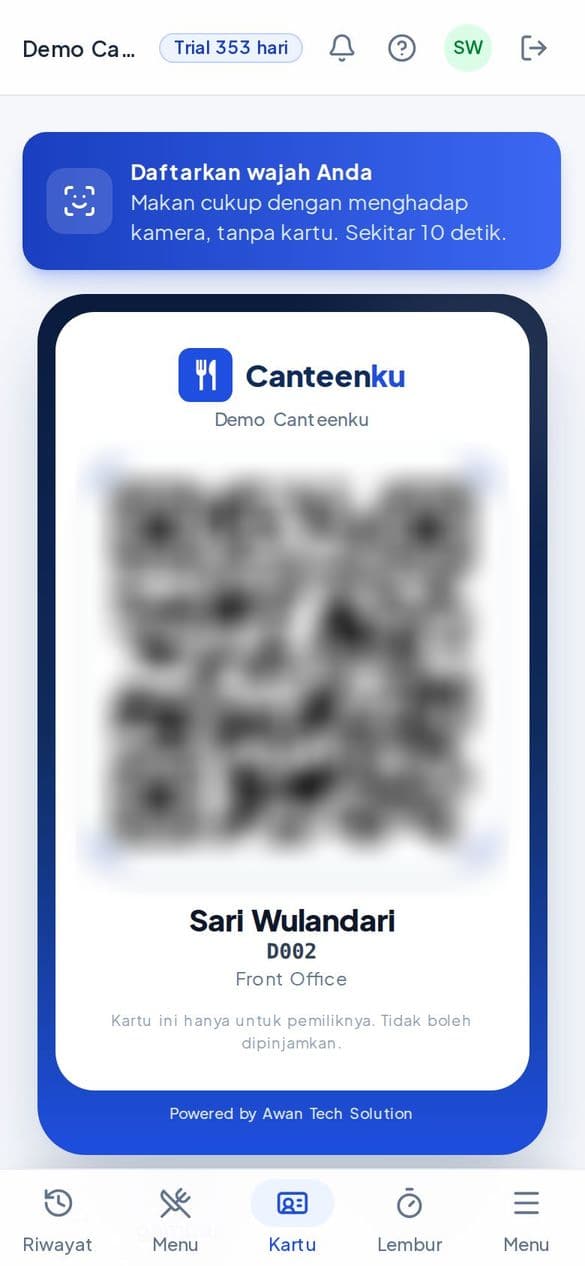
Never share your password or QR card. Every claim is recorded in the account owner's name.
Employee data
Add, import, set status, and manage face data.
1Adding employees one by one
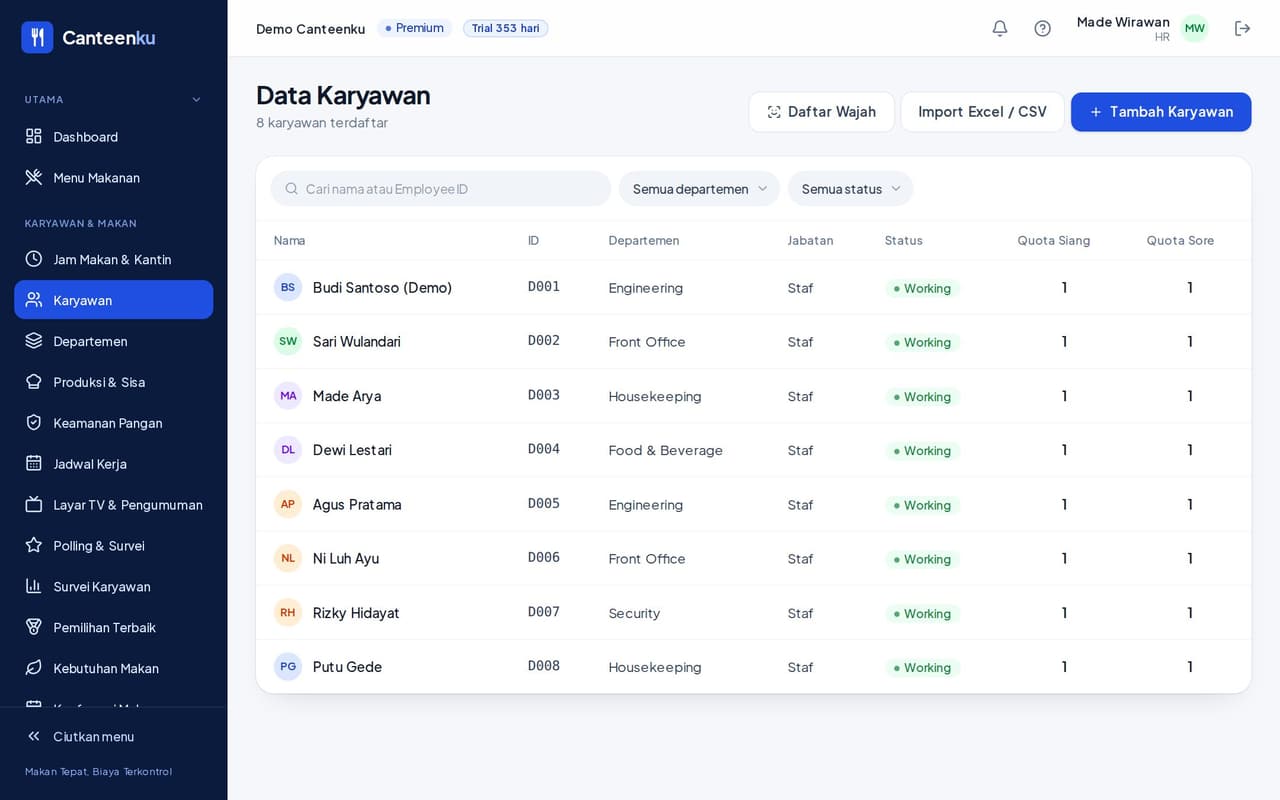
Open Employees. The table shows name, ID, department, position, status, and the remaining Lunch and Dinner allowance. Use the search (name or Employee ID) and the filters.
- Click Add Employee.
- Fill in Full Name, Employee ID, Department, Position, and Start Date. Email is optional.
- Set the Status and Entitled to meals. The daily allowance is given automatically according to the department and the organisation's meal times.
- Tick Face verification required if that employee must always verify their face.
- Save.
2Importing many employees from Excel
- Click Import Excel / CSV, then download the Excel template.
- Fill in the employee list following the template's columns, then upload it.
- The result appears on the page. Rows that cannot be processed are skipped and shown with the reason, so you can fix them and upload again.
- Departments that do not exist yet are created automatically, and you are told how many.
If sign-in accounts are created too, download the account list before you close the page. It contains temporary passwords and is not shown again.
3An employee leaves or moves
- Open the employee and change the Status to Inactive, or fill in the End Date.
- After that, claims can no longer be made and their face data is deleted automatically. Meal history is kept for reports.
- To delete face data only, click Delete face data. To delete permanently, click Delete employee.
Changing a username or deactivating a sign-in account is done under Users & Roles.
4Registering an employee's face
Employees can register their own face under My Face ID. HR can also do it with the Register Faces button, for example when you are with the employee in person at the office.
The photo is not stored. Only the face print (128 numbers) is kept, encrypted, and it is deleted when the employee is deactivated.
Duty roster and overtime meals
Today's roster decides who may eat at the canteen.
1Filling in the roster for all departments
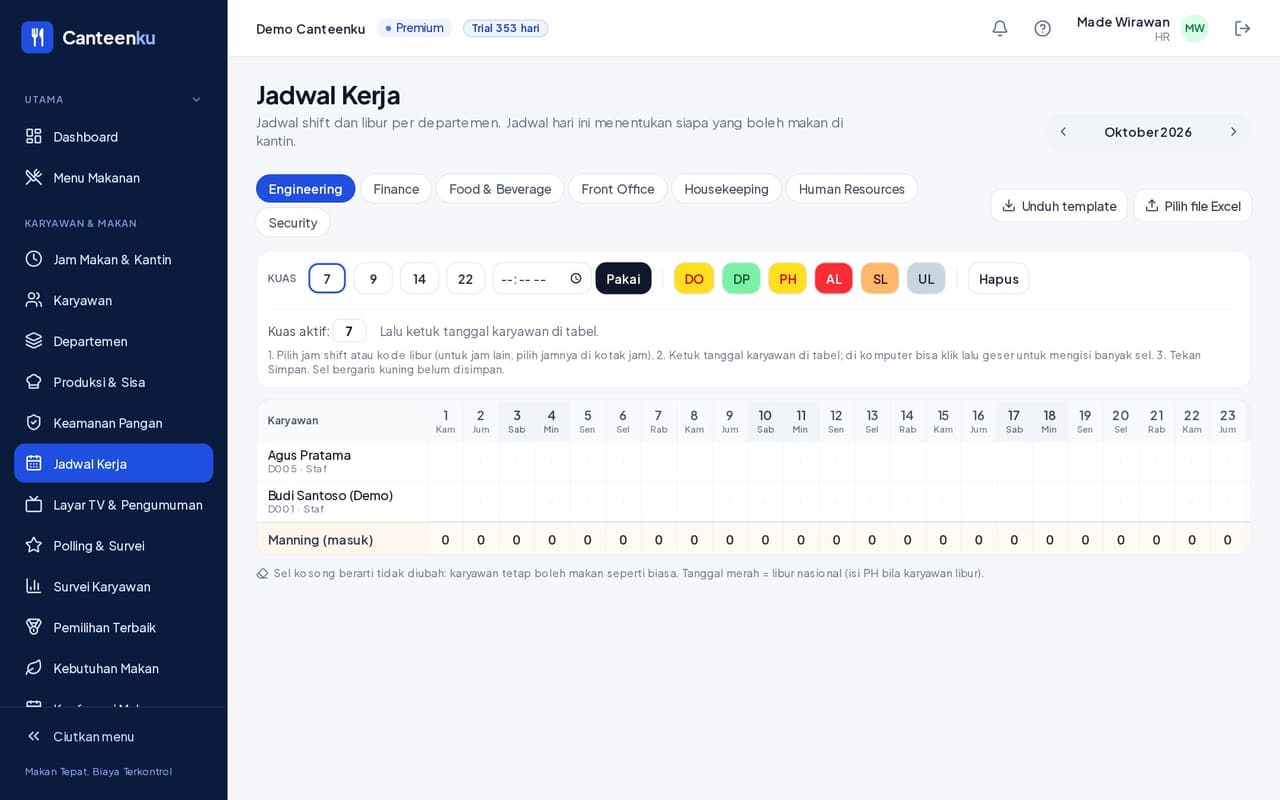
Open Duty Roster. Choose a department with the tabs above the table and the month with the arrows. HR can change the roster including dates that are already past.
- Pick a shift time or a day-off code on the brush, or type another time (for example 7, 7.30, or 19:00).
- Tap an employee's date in the table, or on a computer click and drag to fill many cells.
- Press Save. Cells outlined in yellow are not saved yet.
- For a whole month, use Download template, fill it in Excel, then Choose an Excel file.
An empty cell means unchanged: the employee may still eat as usual. Red dates are national holidays; enter PH if the employee is off.
2Overtime meal approval
Employees request overtime meals from the app. The Department Head or HR approves them under Overtime Meals. HR can also grant an overtime meal directly, which is approved straight away except for yourself.
Announcements and TV screens
Share information on the canteen TV screens and in the employee app.
1Creating an announcement
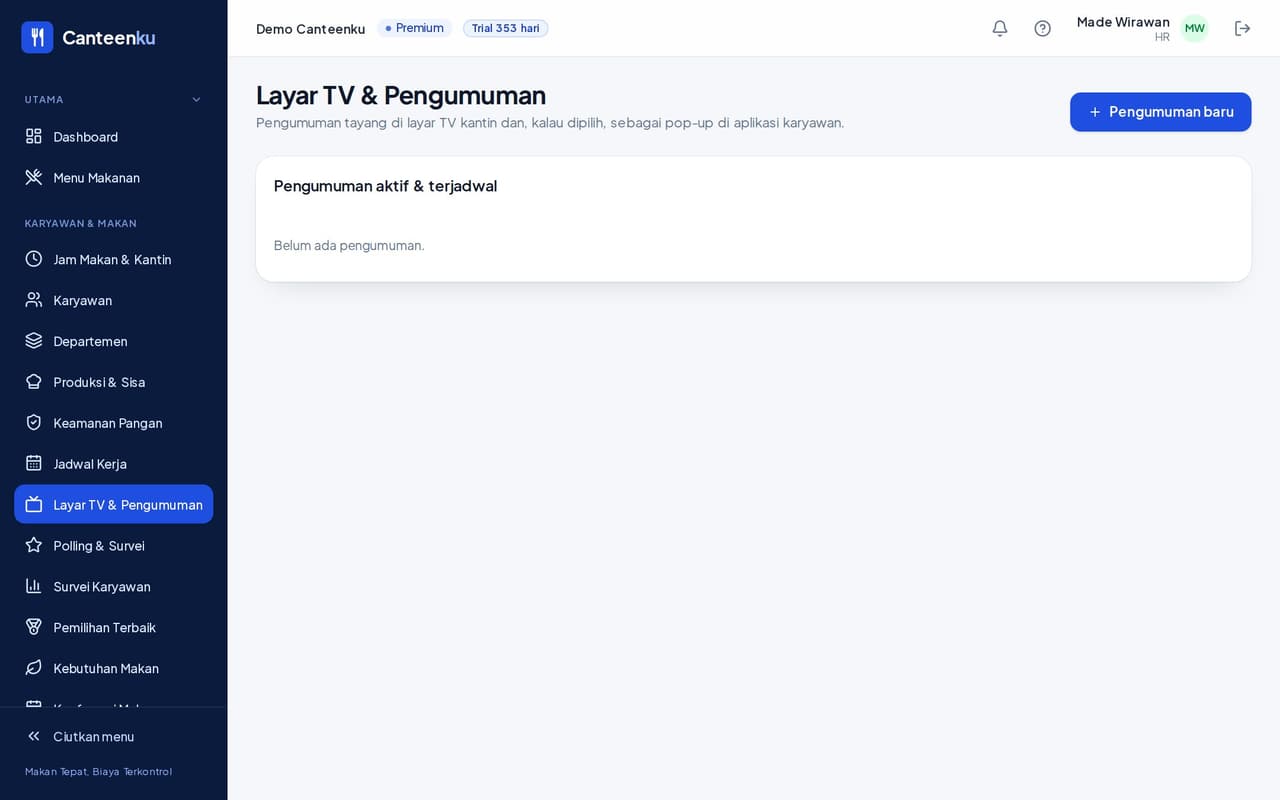
An announcement plays on the canteen TV screens and, if chosen, as a pop-up in the employee app.
- Open TV Screens & Notices, then click New announcement.
- Fill in the title, the content (optional), and an Image (optional). Tick Picture only (poster) to show just the image without a title.
- Choose how it appears: a pop-up (shown when the employee opens the app) or an image/video board above today's menu that stays for its dates.
- Tick Send a notification to employees so it goes into the notification list and is sent as a push.
- Set the dates, then save. Active and scheduled announcements appear at the top of the page.
2Turning on the canteen TV screen
- In the TV Screens section, click Add screen.
- Open the screen link in the canteen TV's browser and show it full screen. No sign-in is needed.
- To remove access, delete the screen, and its link stops working immediately.
The TV screen plays content in turn, including announcements, live polls, and the ranking and winners of elections.
Polls, surveys, and best-of-the-month elections
Hear employees' voices with anonymous answers.
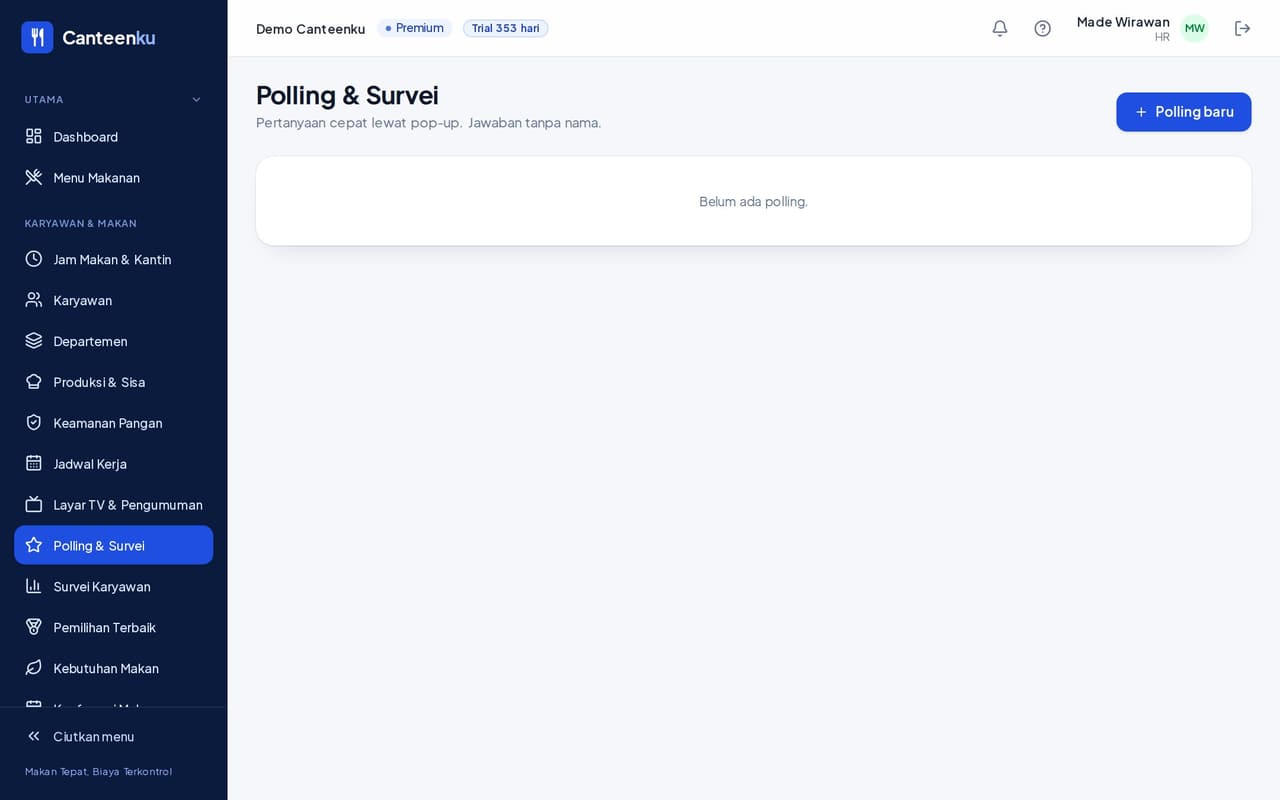
1Quick polls
A quick question through a pop-up, with anonymous answers.
- Open Polls & Surveys, then click New poll.
- Write the question and the answer options. Tick Allow comments if needed.
- Once there are answers, the results and the latest comments (anonymous) appear on this page.
2Employee surveys
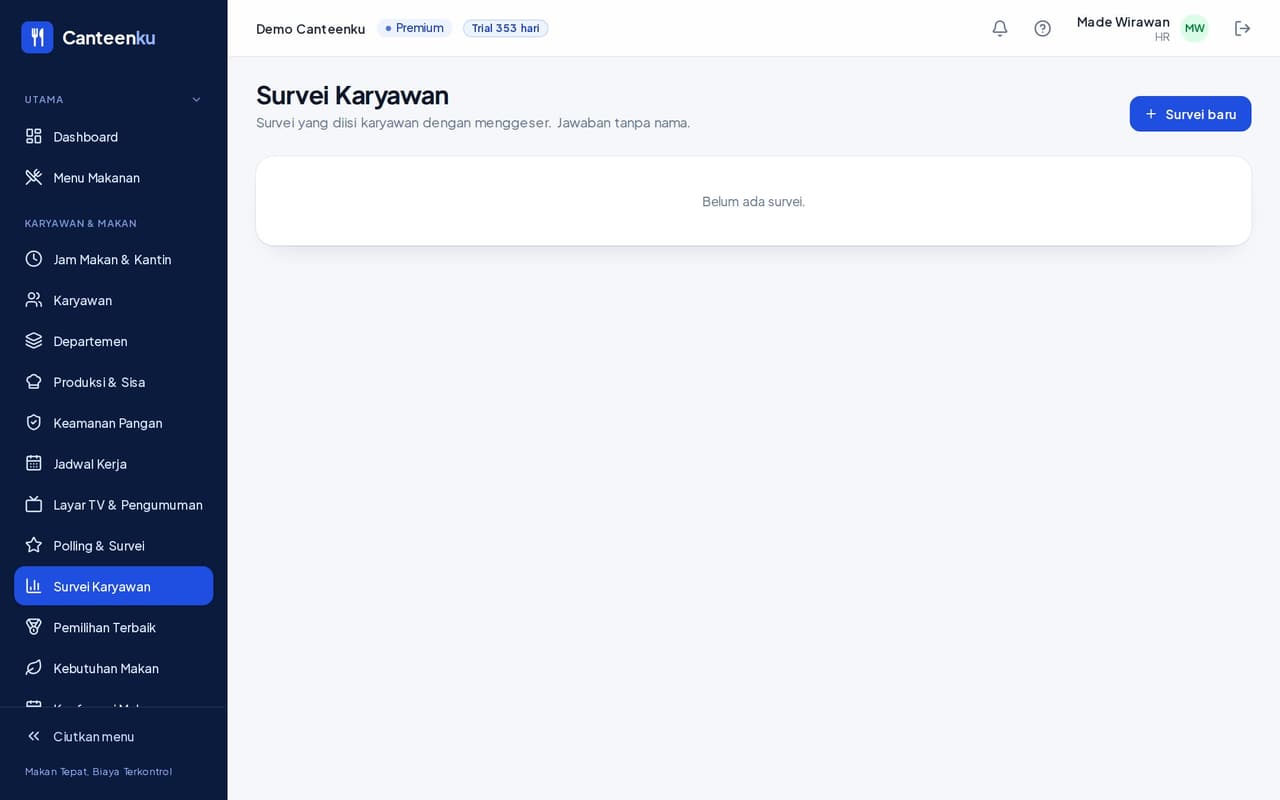
A survey that employees fill in by swiping. Answers are anonymous, and HR only sees the combined results.
- Open Employee Surveys, then click New survey.
- Build the sections and questions. You can add a Cover photo (optional).
- Set the Obligation to fill in: the survey screen appears before the home page, but the meal card can still be opened. Also set how many times it may be postponed at most.
- Turn on Remind those who have not filled it in so employees are reminded, and set when the results appear.
A survey can only be changed while it has no answers, so the results stay fair.
3Best of the Month
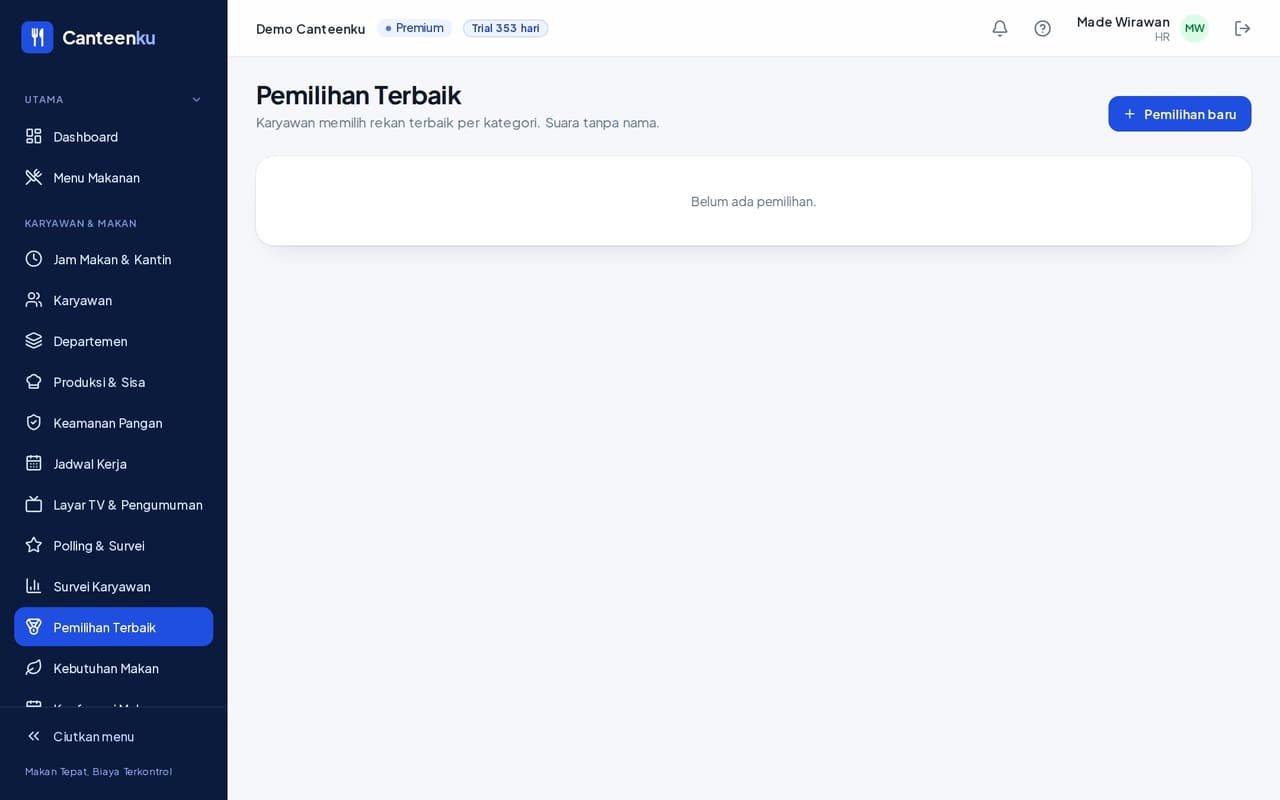
Employees vote for the best colleague in each category. Votes are anonymous.
- Open Best of the Month, then click New election.
- Add the categories, then set Candidates come from (who can be voted for) and the Department rule.
- Set the Choices per person, and tick Ask why they chose it if you want to.
- Set Employees see the results (names and percentages shown while it runs, or after it ends) and Remind those who have not voted.
Meal confirmation, events, and dietary needs
Help the kitchen prepare the right number of portions.
1Tomorrow's meal confirmation
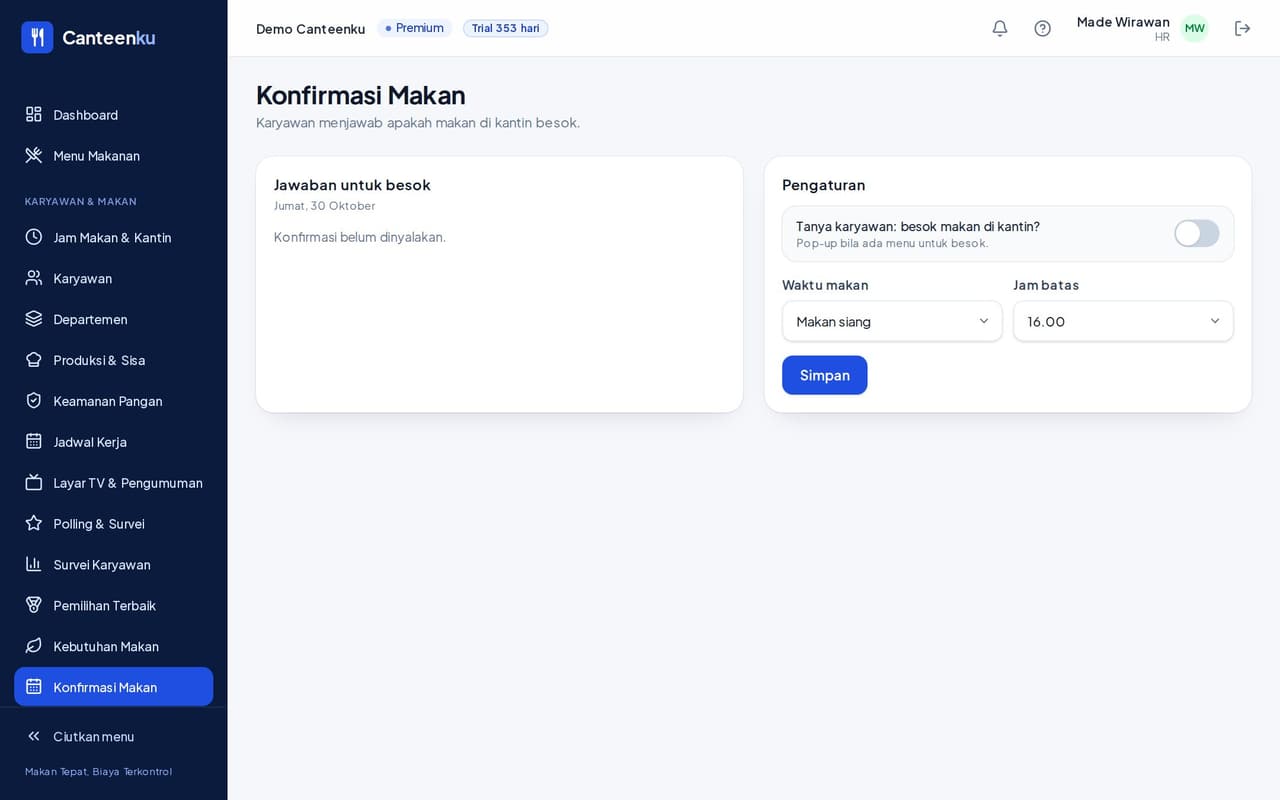
Employees answer whether they will eat at the canteen tomorrow, so the portion forecast for the vendor is more accurate.
- Open Meal Confirmation.
- Turn on Ask employees: eating at the canteen tomorrow? A pop-up appears when there is a menu for tomorrow.
- Choose the Meal and the Cut-off hour for answering, then click Save. The Answers for tomorrow section shows the results.
The setting can only be changed by Admin and HR.
2Events and dietary needs
- Events: occasions with many food stands. Click Create event. Employees scan their card at each stand and the vendor bill is calculated automatically.
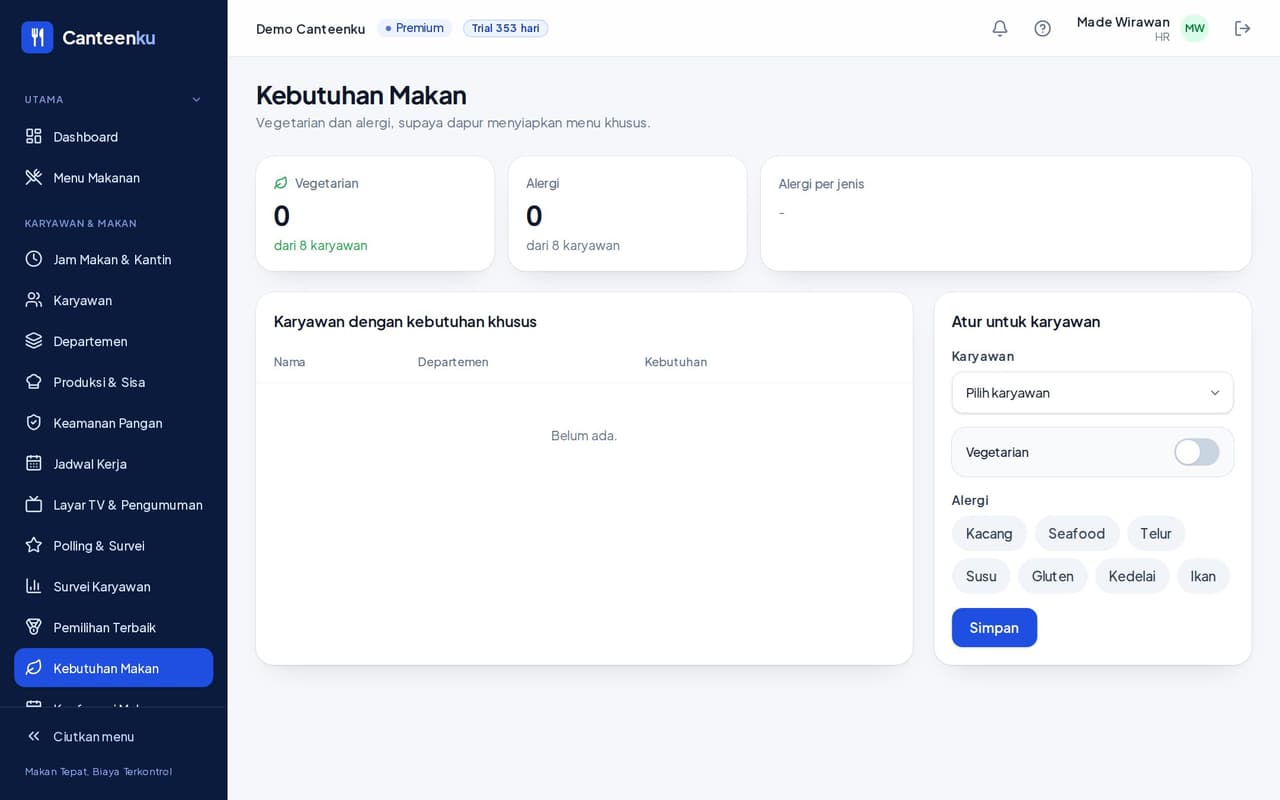
- Dietary Needs: the number of vegetarians and allergies (without names for the kitchen). HR can set it for a specific employee in the Set for an employee box.
Frequently asked questions
Short answers to the most common problems.
- The Excel import refused some rows.
- Rows that cannot be processed are skipped and shown with the reason (for example an invalid department or ID). Fix the rows in Excel and upload again.
- A new employee cannot eat yet.
- Make sure the Status is active and Entitled to meals is ticked. Also check the Duty Roster: a day-off code makes the allowance invalid.
- How do I delete an employee's face data?
- Open the employee and click Delete face data. The data is also deleted automatically when the status is set to inactive.
- Can HR see who answered what in a survey?
- No. Answers are anonymous, and HR only sees the combined results.
- The TV screen is blank.
- Make sure there is an active announcement, or a menu and poll for that day. Open the screen link again in the TV's browser, and make sure the screen has not been deleted.
Still have questions?
Contact us on WhatsApp +62 857-0779-9569 or by email at awantechsolution.bali@gmail.com. Tell us your role and the name of the menu you opened.